I'd like to switch gears into my BBQ smoker project. With spring fast approaching, I need to start busting a move on this one. It was really the project that made pick up the welding gear and get me into this hobby. The first week when I had received the steel, I cut it into manageable pieces, but then it just sat against the wall, lonely and cold, until winter started this year and I had more time to dedicate to it.
The first part of the smoker I decided to work on is the firebox. This is the part of the smoker where the fuel burns (wood or charcoal) and produces the smoke which then makes its way into the smoke chamber.

Using 1/4" mild steel for this part is the key to the whole build. It might take a little while to warm this us, but once it's hot, the temperature will remain very steady! The dimensions of this box is roughly 17" cubed. Big enough to use chopped hardwood.
I started by cutting all of the pieces to their proper dimensions. At first I started using the plasma cutter. I thought it would make quick work of these cuts, but I was soon shown otherwise. The cutting torch I have is rated only to 40 amps and as soon as I went even a couple of amps above that, the electrode started melting. And 40 amps was only giving me enough juice to get severance, not a clean cut.
So, not wanting to have really crappy looking cuts, I looked for another solution. I had an angle grinder and some cut off disks so put them together and started cutting away. It started off going alright, until my hand started to heat up... and I mean A LOT! My grinder was biting the bullet! It was arcing inside the handle so I dropped it like a hot potato. Great, now I had no options. Or did I?
I had seen some redneck videos of rednecks cutting steel with reciprocating saws on the 'ol interwebs. So, being half redneck, I ran to home depot, bought some good quality metal cutting blades, brought them home and tried it out for myself. And you know what?!? It's not the fastest cutting device, but cuts very clean and straight! So, I was able to continue.
Once all the pieces were cut, I needed to grind down the edges of some of the poorer plasma cut pieces. I picked up a Milwaukee 4 1/2" angle grinder on sale at Home Depot (and so far have been really happy with it) and cleaned up the pieces a little.
Now comes the more fun part, welding some of the pieces together. I opted to weld the seams from the inside with stick welds (aka shielded metal arc weld - SMAW) TIG welding the outside seams would end up looking really nice, but would use up a whole lot of argon. I didn't take a whole lot of pictures during this process, so you'll have to live with these poor quality pics.

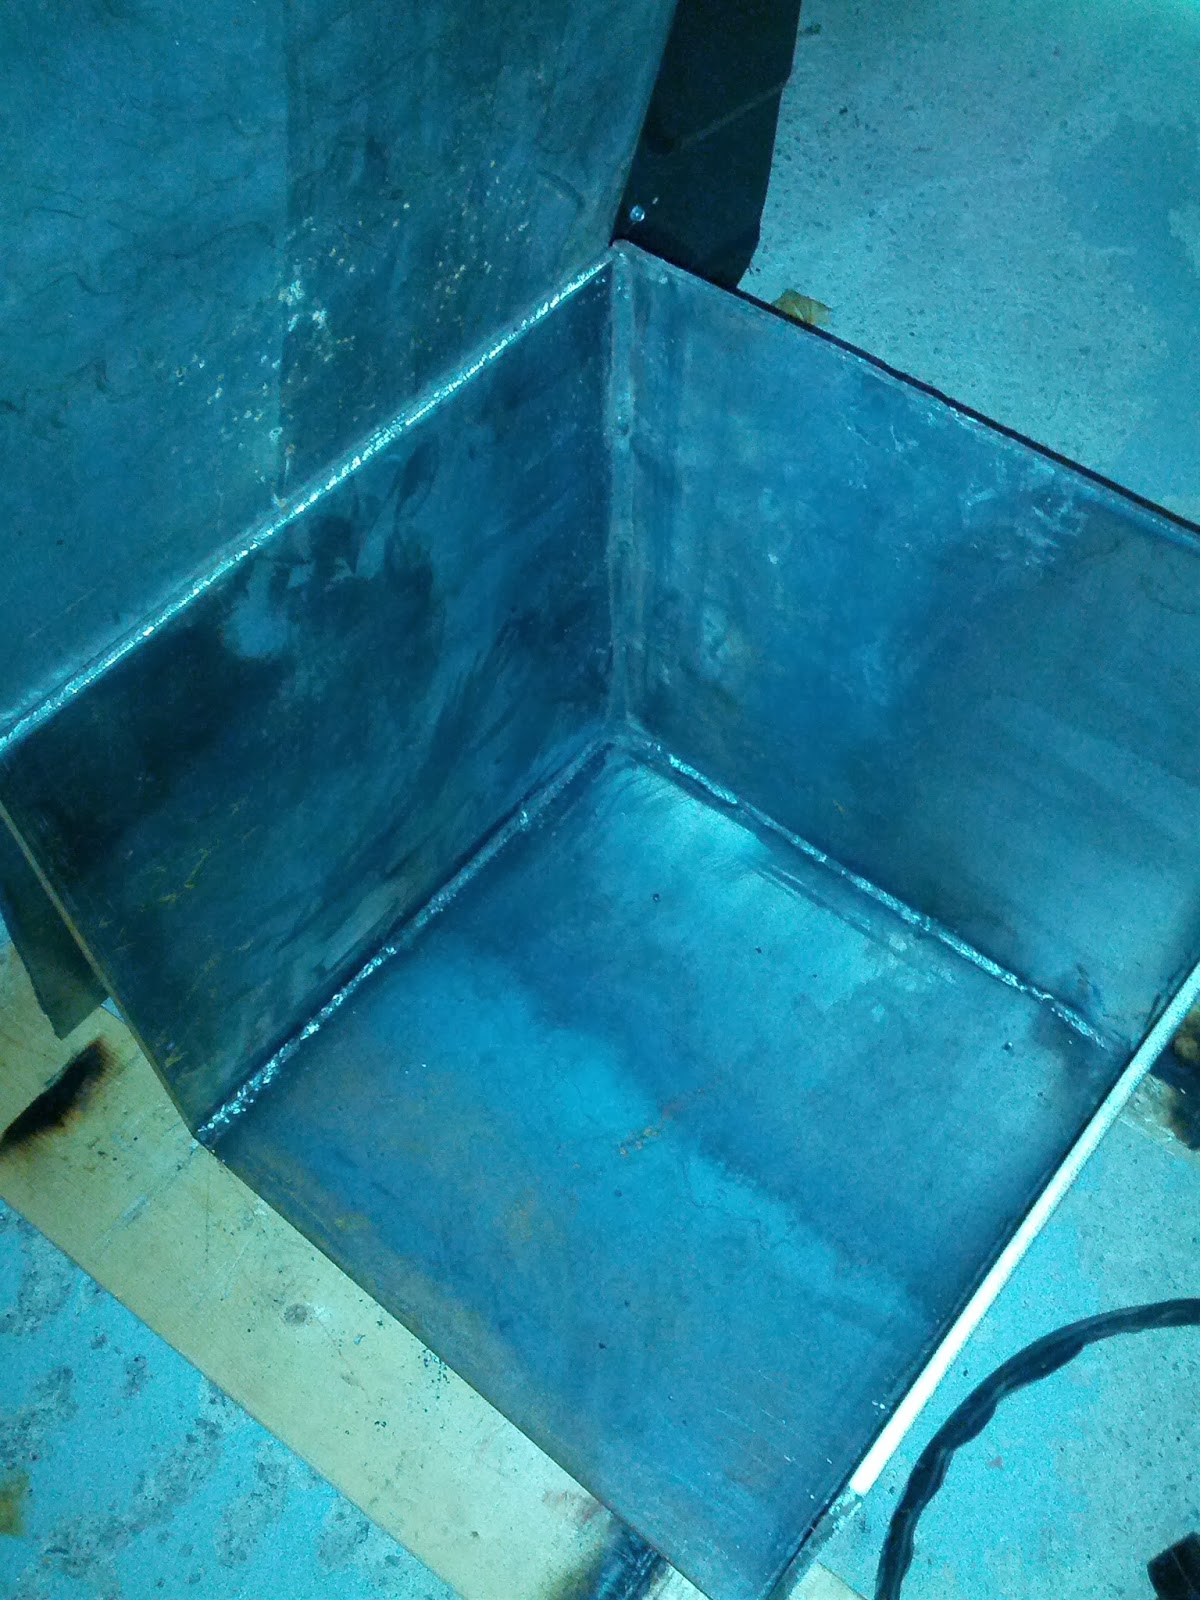
Once I had all 5 sides welded up, I took a square measurement and was only off by a tiny bit. Well within tolerances! So now it's time for the hinges and the door. I made the hinges out of some 1/8" x 1" flat bar cut into 2" long pieces and drilled a hole through the center on one end of each.
I then took out the TIG torch to attach these to the door and box. I don't have much argon left so I'd have to be quick and efficient if I don't want to have to pick up another bottle before the end of the day.


And lastly I need to weld an end piece on the hinge rod, so it doesn't slide right through the holes. For this, just some round stock slightly smaller than the holes drilled for the hinges, and some 1/8" x 1" flat bar for the end cap.
And this is how it turned out. Pretty happy if I do say so myself!

