Showing posts with label welding table. Show all posts

Saturday, 11 May 2013

It's standing under it's own weight

I guess I'm pretty much finished the table..


..well, except for some of the finer details, such as the top piece and maybe paint.

The night before last I finished welding the leg cross members on and any other corners in the frame that I had forgotten.

Then last night I started by sectioning the 1" flat stock into the pieces which hold the legs in position.  I figured I would try out the cut off disc in my angle grinder, as I didn't need the plasma cutter or welder for anything else and didn't want to string out all the cables for a couple of cuts.

I didn't know this at the time, but it might have almost been a safer bet to actually use the plasma cutter.  You see, when I was making one of the cuts, the disc violently dug into the piece being cut and jerked the angle grinder out of my hands.  Luckily I didn't try to recover the fumble, but instead tried to get every appendage that I care about out of the way as fast as possible and avoided a catastrophe!  Only thing that was destroyed was the new cut off disc as the grinder hit the cement floor... but I couldn't care less.

So, with all of the flat bar cut, I clamped the similar lengths together, center punched where the holes would go on each end, and drilled them on the drill press.  This is flying faster than I expected at this point and quickly realized that my table would be standing in a matter of minutes.

I retrieved by bag of bolts, determined which pieces needed to be bolted to which holes and started to piece it together.


At this point, I encountered two things which would need to be worked around.  First, there must be a set of holes in some piece which aren't completely even with the rest as my front legs have a bit of a twist in them and I need to pry up on one side to get the flat bar attached.  Second, when I fold the table up, the middle bolt on the bottom pieces of flat bar hits the legs.. so I need to add in some washers on the other side of the pieces to give it some room to play.  Think I might eventually cut off the head of the bolts and weld the stud to one of the pieces, so I don't need all those washers.


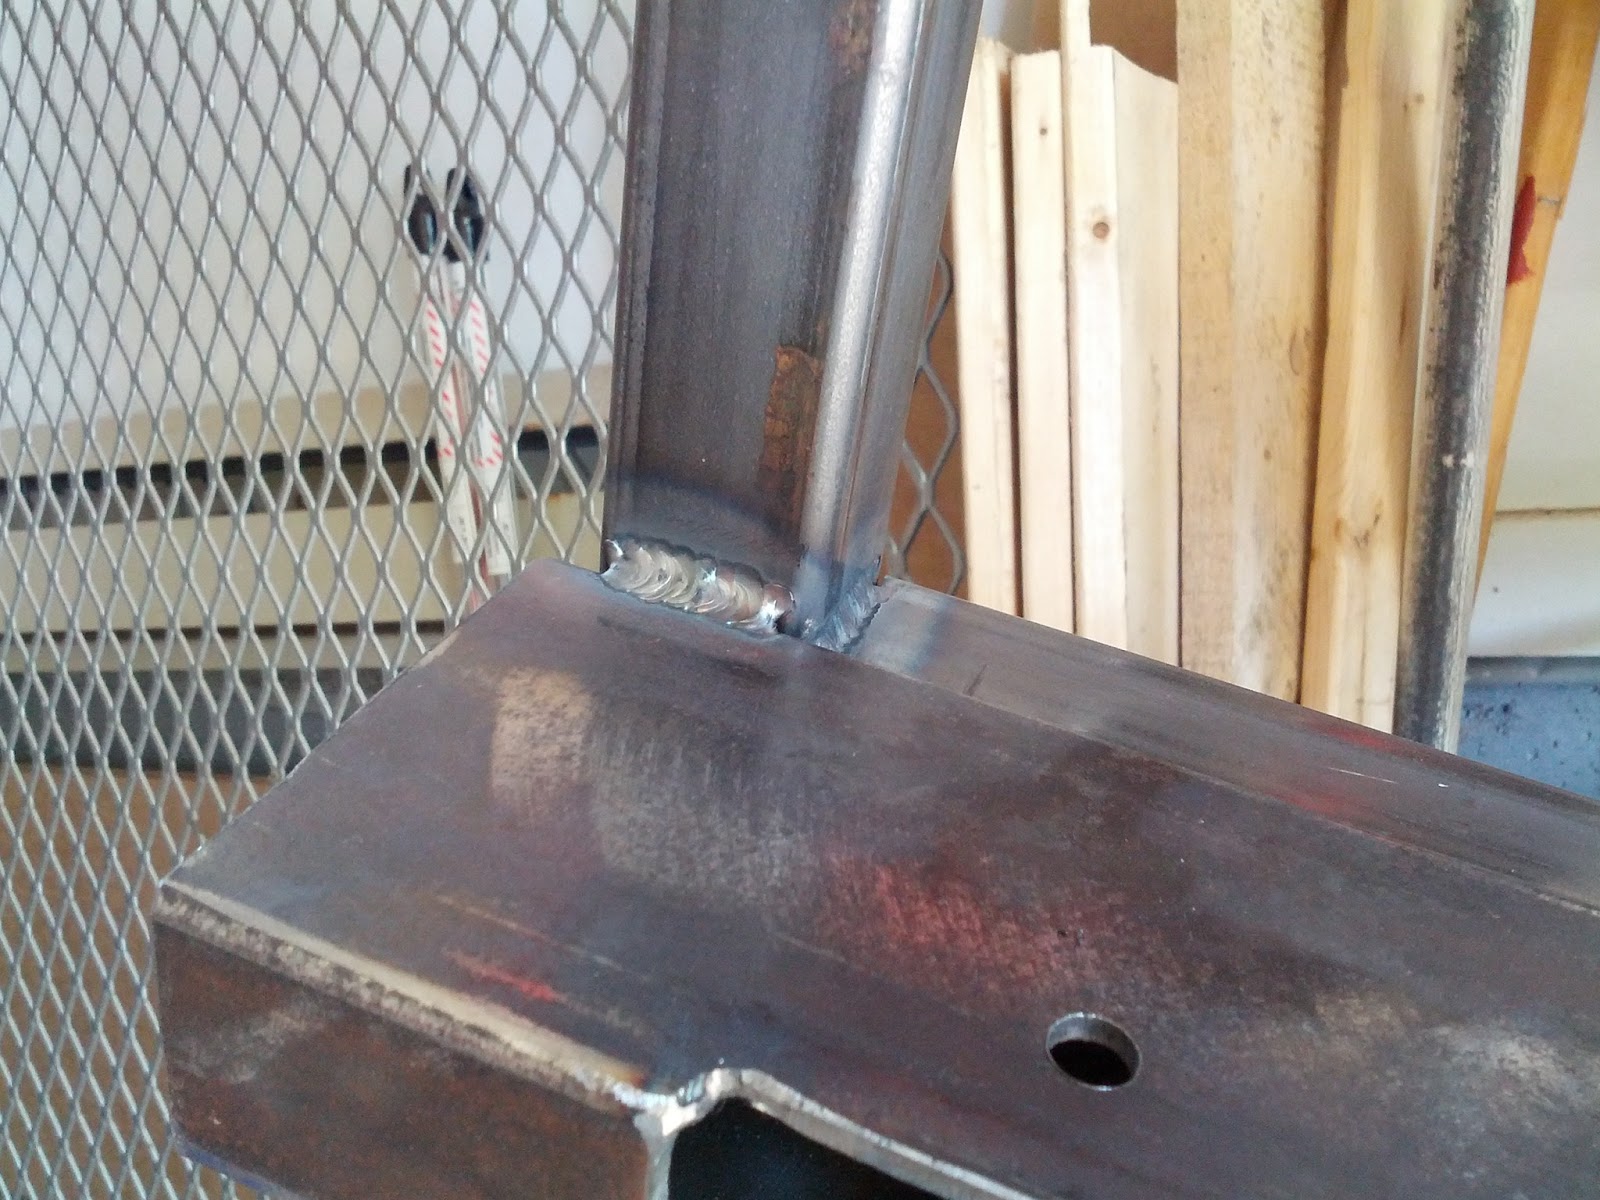
Then finally, the last thing I did last night was to grind down the welds on the table top frame to receive the 1/4" table top, when I get around to cutting it.


And then I sat on the table to test it out!!!

Sunday, 5 May 2013

It's starting to look like a table

Today was a very productive day.  When I started I had a bunch of individual pieces, all cut to length and drilled, but it looked nothing like a table.


I started by welding the outside corner edges on the leg brackets to the table top base.


I don't want to run a long bead of weld at this point so that the whole frame doesn't start to warp.  So I continued with some 1 inch long welds along the sides for extra strength.  


And then closed up the inside corner joints.


Well, the base is done.  I guess I can try the legs and see how they fit.  I ran to the hardware store yesterday and got the bolts, nuts and washers I needed, with the exception of the nylon threaded lock nuts.. for some reason they didn't have any for the sizes I needed.  Ohh well, some lock-tight should do the trick.


Lookin good, right?!  Everything fits pretty good and is pretty well straight.  Pretty happy about this!

Now to fuse the legs together. I still need to cut to length the 2 pieces for this task.  I wanted wait until it was all together to make sure the length was accurate.  Two 17 1/4" pieces, coming right up.


Gotta admit, I'm getting pretty handy with the plasma cutter!  The cuts were nearly perfect.. the only thing that got me this time was when I switched from TIG to Plasma, I forget to switch the foot control switch off, so the plasma cutter would start weak and then just peter out.

So I have only enough time before my daughter gets up from her nap to weld in one of these leg.. 


See, looks like a table!  The few remaining things now left are to weld together the other pair of legs, cut up and drill  the 1" flat stock that will hold the front and back legs together and allow them to fold, cut the table top from the 1/4" plate I have left over, and weld it to the frame.  I might just be able to get this done in one more evening of work.


Monday, 29 April 2013

Legs are cut

After a very relaxing weekend off with just the wife and no kids, I decided it was time to get this table a little closer to complete.  I wanted to at least finish welding the table top frame, cut the legs to length and cut the bottom off of the other 3" x 1 1/2" leg attachment tube.  Ohh, and I finished editing the video of the plasma cutting from last week.


This video was really a trial run for many things.. video camera placement, speed effects, plasma cutting with a guide on a make-shift welding table/positioner (ie. drill press vise)  And I noticed that at some point the sound became unsynchronized with the video... like I said, trial run.

So, I did what I set out to complete today...
Finished cutting the legs and attachments


Then finished up the welds on the frame.  Think I'll stick with the TIG seeing that I went to get the argon tank refilled... and I need the practice.  Most of the welds turned out pretty good.  I even "walked the cup" a little on the fillet (inside corner) welds  I really need to practice the outside corners though!


So, that's it until next time when I drill the holes in the legs, and just maybe start putting things together!

Thursday, 25 April 2013

A little progress

Didn't get a whole lot done today, but progress is progress. And I didn't screw up any of my cuts so that outta count for at least double!
I started with a little rust removal on the 3 x 1 1/2 tubes. I picked up a sanding conversion kit for my electric angle grinder a while back and this would be the first time using it.  It took the surface rust off with no problems and left a nice smooth, paintable surface.
Then I turned once again to the plasma cutter to take a large chunk of the bottom off. This will be where the legs attach into. It was a little bit of a difficult place to cut because I wanted the cut right on the corner of the rectangle tube.. but what ended up happening is I cut slightly up the side wall, which is the next best thing.  After cutting, I ground down the edges and tired to get it as flat as possible.
And that's all the time I had for today. I took some video of the plasma cutting.. I'm just editing it now and will put it up later. But for now, here's a pic of my now shiny rectangle tubes.

Tuesday, 23 April 2013

First things first - where's my welding table?

It wasn't long after starting the BBQ that I realized there was something missing from my shop that would make this project go smoothly.  That something is a descent table to weld on.  I already have a work bench, which is already quite cluttered with a vise, and grinder, and drill press, and some other junk... so instead of re-organizing all of that, I decided I'd build a portable folding welding table.  It didn't take long to find plans for this exact thing on the Miller Welding website.  And since I had some extra 1/4" plate from when I cut up the pieces for the firebox, I thought to myself, this will work out perfectly.

First thing the plans call for is to cut and weld the 1 1/4" square tubing for the base of the table top.  I had two options for cutting these pieces.. cut-off disc in the angle grinder, or plasma cutter... PLASMA CUTTER every time baby!  Would be nice to pick up a good used metal band saw one day tho.  Maybe if I build a second welding table, someone might be willing to trade for one.

Well, got the tubing all cut and edges ground flat and it's time to weld.  Again, two choices... stick or TIG?  Think I'll practice some TIG today.  And since I'm running really low on argon, I'll just weld until I'm forced to stop.

Got the pieces all fit together, fusion tacked each of the pieces, and then ran some beads with some ER70S-2 rod.  It had been some time since my last TIG practice, so some of the welds turned out a bit globby, but all in all, I was happy with the results.  I was able to get one side welded up before running out of argon.  You can see the last two welds on the right where the steel started to oxidise because there was no shielding gas.


So, no more argon, what else can I do today?  Perhaps cut the two pieces which attach to the bottom of this frame in which the legs will be bolted to and pivot in.  Again, plasma made quick work of these pieces.


This is where they will be welded in place.


Think I'll be grinding some rust off of these the next chance I get as the TIG process certainly won't like that.

That's all I had time for today.  It was nice and sunny out so figured I'd take the car out for her first run of the year.


Sunday, 14 April 2013

First cuts

Finally the snow from that freak snow storm that passed 2 days ago has melted from on top of the steel sitting in my driveway.  It was actually quite a nice day when the sun was out, hovering at around 10, so I took advantage of this to chop up these steel plates.  I have a 325lb 1/4" x 48" x 96" plate and a 200lb 1/8" x 48" x 120" plate (or sheet?)... plus a sheet of expanded metal.. that grate stuff you see on metal walkways.. and some 28' of angle iron... lots of raw material.. figure I'll draw this out so I can do the least number of cuts and waste the least amount of steel, because I have a few other projects I want to use this steel for.

I picked up a cheap, made in China, 3-in-1 welder/plasma cutter a few months ago, and although I've cut and welded up a few small things, this will be the first big test for this machine.  To be honest, I'm a little nervous.  I can always resort to using the angle grinder with cut off wheels, but that's going to be really long and noisy and dusty and crappy!  So here's my setup.. got the tig/arc/plasma machine on the right, some compressed air for plasma cutting next to that and a tank of argon for the tig on the left...


I didn't get any footage of the actual cutting, but I promise I'll get some when I'm cutting the individual pieces.  The goal for today was to just get these huge sheets broken down a little so I can fit them in the garage.

We (my father in law and I) got off to a little of a rocky start with some electrical problems.  This machine supports both 110V and 220V, and like I said I haven't done any long cuts like this, so I've been using 110V since I bought it.. mainly because I don't have 220V run into the garage. So I started the cuts today while plugged to 110V.  This lasted all of 15 seconds and the breaker tripped.  So I decided to hook up my make-shift 30 amp 220V extension cord to the dryer outlet in the basement.  Ahhhh, much better!

So I had 3 x 4' cuts on the 1/8" and 3 x 4' cuts on the 1/4".  The 1/8" was on top, so I tackled this one first.  I clamped on some of the angle iron I had to act as a guide, and after about the first 5 or 6 inches I found a nice groove and started making some pretty nice and clean cuts.  And once the 1/8" was banged out, I went to check on my chicken that I'm smoking up today in my old smoker...


Looking good!

So, now the 1/4".  I knew this was going to be a completely different ball game.. I'm going to have to travel slower, the torch movement is going to have to be smoother, and have to turn the amps up on the plasma cutter.  And then is started to rain!  Crap!  Pack everything into the garage quick!  And then as soon as it started, it's over.  Quick, take everything back out of the garage again.

Okay, 1/4".. after a couple of tweeks on my technique, we're cooking.. with plasma!  I got 2 pieces of plate chopped up into manageable pieces, basically so I can get it stacked nicely inside the garage and I'm going to call it a day!  Hope you enjoyed the read.


Ohhh, and the chicken was great!