Showing posts with label BBQ pit. Show all posts

Thursday, 30 January 2014

BBQ Smoker - Firebox

Well folks, it's been a really long time since I've written anything in the 'ol blog.  Last update was from way back in early summer when I was changing my motor mounts on the 911 and broke the engine mount bar. Just a quick update on that, I was able to tap the threads on the new rennline mount bar and got a set of replacement bolts and the car was solid all summer.  Now it's parked in the garage ready for some winter projects, but that's not the point of this post.

I'd like to switch gears into my BBQ smoker project.  With spring fast approaching, I need to start busting a move on this one.  It was really the project that made pick up the welding gear and get me into this hobby. The first week when I had received the steel, I cut it into manageable pieces, but then it just sat against the wall, lonely and cold, until winter started this year and I had more time to dedicate to it.

The first part of the smoker I decided to work on is the firebox. This is the part of the smoker where the fuel burns (wood or charcoal) and produces the smoke which then makes its way into the smoke chamber.


Using 1/4" mild steel for this part is the key to the whole build.  It might take a little while to warm this us, but once it's hot, the temperature will remain very steady! The dimensions of this box is roughly 17" cubed.  Big enough to use chopped hardwood.

I started by cutting all of the pieces to their proper dimensions. At first I started using the plasma cutter.  I thought it would make quick work of these cuts, but I was soon shown otherwise. The cutting torch I have is rated only to 40 amps and as soon as I went even a couple of amps above that, the electrode started melting. And 40 amps was only giving me enough juice to get severance, not a clean cut.

So, not wanting to have really crappy looking cuts, I looked for another solution. I had an angle grinder and some cut off disks so put them together and started cutting away. It started off going alright, until my hand started to heat up... and I mean A LOT! My grinder was biting the bullet! It was arcing inside the handle so I dropped it like a hot potato. Great, now I had no options. Or did I?

I had seen some redneck videos of rednecks cutting steel with reciprocating saws on the 'ol interwebs. So, being half redneck, I ran to home depot, bought some good quality metal cutting blades, brought them home and tried it out for myself. And you know what?!? It's not the fastest cutting device, but cuts very clean and straight! So, I was able to continue.

Once all the pieces were cut, I needed to grind down the edges of some of the poorer plasma cut pieces. I picked up a Milwaukee 4 1/2" angle grinder on sale at Home Depot (and so far have been really happy with it) and cleaned up the pieces a little.

Now comes the more fun part, welding some of the pieces together. I opted to weld the seams from the inside with stick welds (aka shielded metal arc weld - SMAW)  TIG welding the outside seams would end up looking really nice, but would use up a whole lot of argon. I didn't take a whole lot of pictures during this process, so you'll have to live with these poor quality pics.

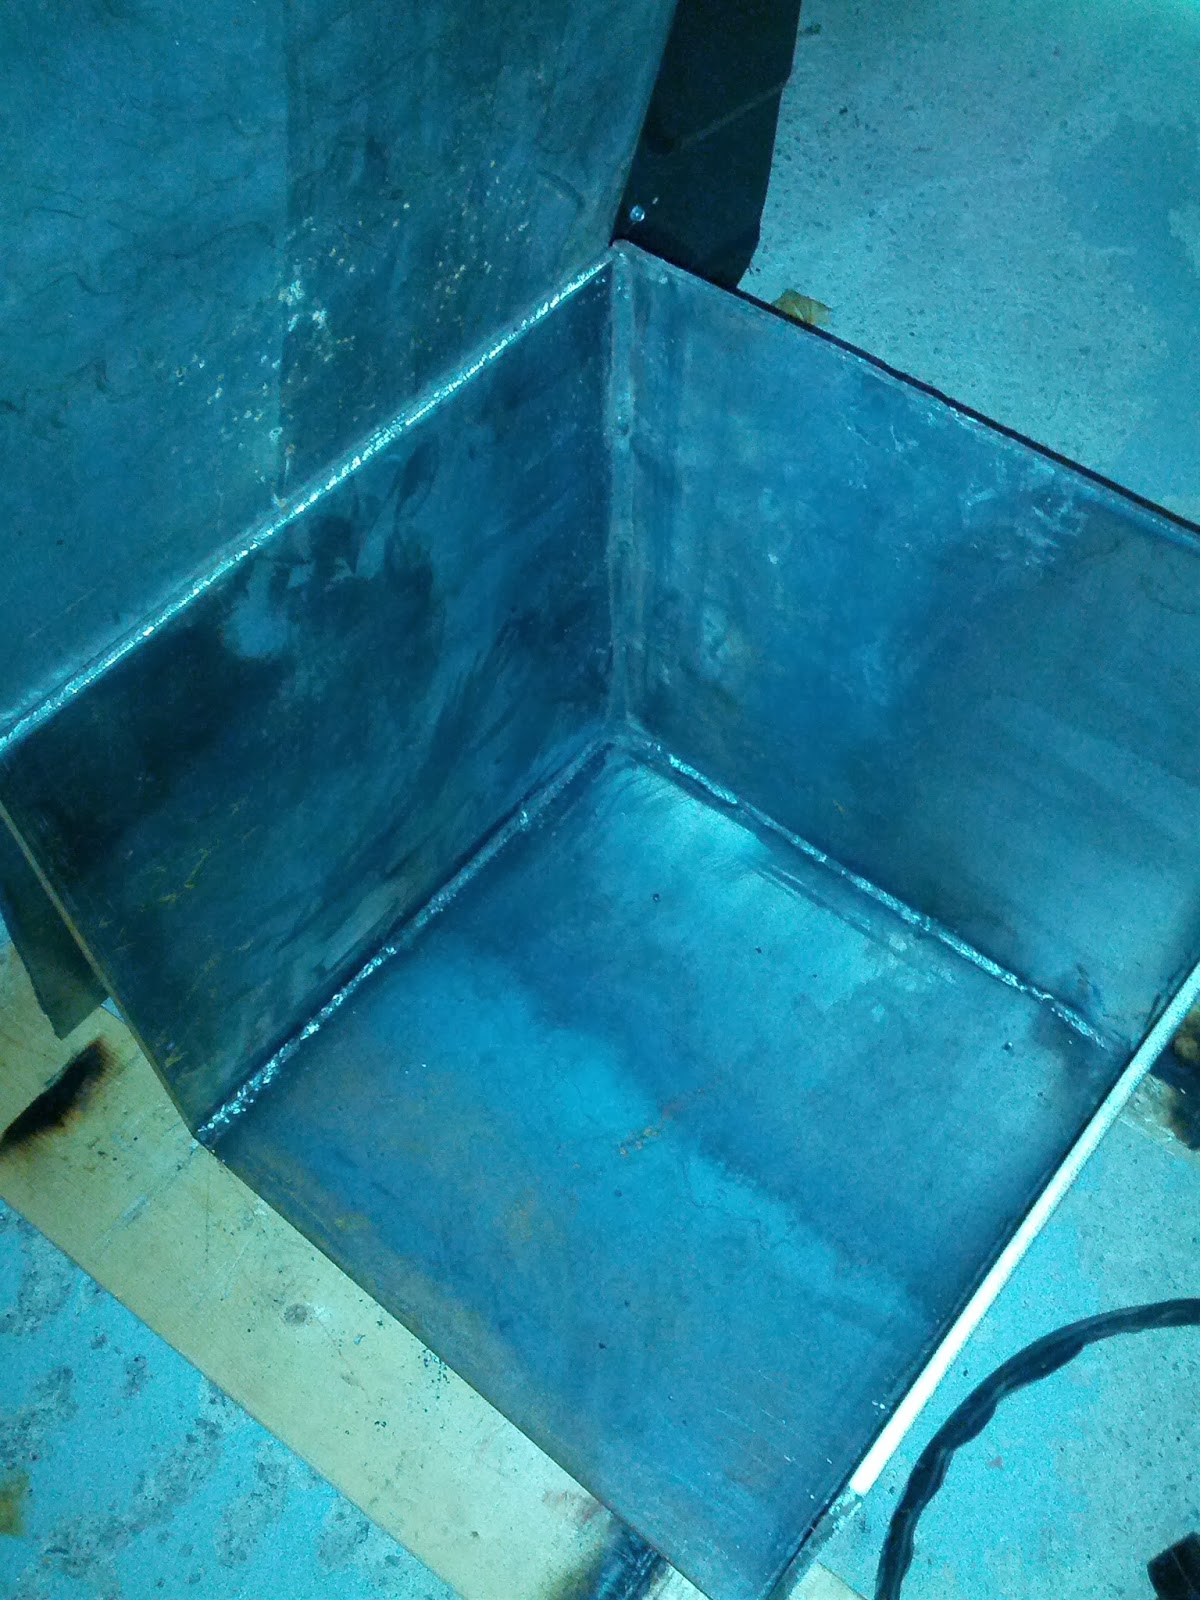
Once I had all 5 sides welded up, I took a square measurement and was only off by a tiny bit.  Well within tolerances! So now it's time for the hinges and the door.  I made the hinges out of some 1/8" x 1" flat bar cut into 2" long pieces and drilled a hole through the center on one end of each.

I then took out the TIG torch to attach these to the door and box.  I don't have much argon left so I'd have to be quick and efficient if I don't want to have to pick up another bottle before the end of the day.


And lastly I need to weld an end piece on the hinge rod, so it doesn't slide right through the holes. For this, just some round stock slightly smaller than the holes drilled for the hinges, and some 1/8" x 1" flat bar for the end cap.

And this is how it turned out.  Pretty happy if I do say so myself!


Saturday, 13 April 2013

BBQ Pit Plans

So after several months of research which included countless nights reading blogs and forums, and talking with people about what they liked and didn't like about their smoke pits, I've finally finished the CAD plans for my pit.

For a few different reasons, and I will get into them, I've decided to go with a box design instead of a cylinder/tank design.  First off, I don't know if it was just me, but I couldn't seem to find a tank with the dimensions and wall thickness I was looking for on Craigslist or Kijiji.  I'm sure if I would have waited I would have eventually stumbled upon one, but this second reason is the one that cemented my decision.

It's not that I have a small back yard, but most of my back yard is taken up by the pool, kids toys, deck, etc... so space is a little bit of a concern.  Now most of the tank designs I've seen have one large tray, naturally in the middle where the tank is its widest, which is my opinion leaves a lot of wasted space inside.  Some have no doubt realized this and cut their tanks in half to add a foot or 2 of metal to make it elliptical and taller, which adds a multitude of complexity.  And even after all of that expanding is done, then you still have all the weird round surfaces to hook up the firebox and chimney too.. NO THANKS!

I've purchased a couple of different off the shelf smokers in the past, and both had design features that I didn't like.  My first smoker was (and still is) a horizontal offset smoker.  It continues to be a decent smoker if used properly, and in fact I'll be smoking some chickens tomorrow in it.  The 2 major problems with this unit is that the walls are really thin sheet metal, which makes the temperature hard to sustain, and it's not a reverse flow horizontal offset, which means the heat from the firebox enters the cook chamber directly and it tends to dry the meat if not watched and rotated and flipped and basted and then rotated again!  So lesson learned.. Reverse flow = good!

My second purchased smoker WAS a vertical water smoker.  It's a pretty funny story which involved copious amounts alcohol, some good friends, and a flaming vertical water smoker.  Luckily we were able to pull the brisket and pulled pork quickly from the inferno and it still turned out pretty amazing.  It turns out, the water pan in the vertical water smoker needs to be constantly filled with water.  At some point during the night it had all evaporated and then started to fill with fat drippings from the meat.. and when we stoked the fire in the morning... GREASE FIRE!!

Which brings me to my design.  What have I learned?  No curved surfaces, reverse flow, keep the flames away from the food and get the grease quickly moved out of the way.  Ohh ya, and copious amounts of alcohol are awesome with BBQ  :)  So, let me throw up some CAD rendering of the design..


As you can see, it's boxy and full of rack space.  Everything has been spec'd out according to Feldon's BBQ Pit/Smoker Build Calculator http://feldoncentral.com/bbqcalculator.html  It's gonna be one heavy beast!  The firebox is 1/4" plate steel and smoke chamber is 1/8" plate steel.  Got the raw materials all bought and delivered yesterday (all 550lbs) and I'm ready to start cutting pieces tomorrow.